-
Wallpaper
Sort by Colour
Sort by Style
Shop by Collection
- Murals
- Fabric
- Cushions
- Window Film
- Accessories
- Sale
- Information

18th Sep 2020
When it comes to decorating, it’s a known fact that if you want to do things well and if you want it to last you have to take your time, be patient and take all the necessary steps. This is certainly true of wallpapering.
This year, we’ve spent so much more time in our homes and as a result, we’re getting our hands dirty and getting on with some DIY decorating! If wallpapering is something you’re planning on doing, there are a few key steps you should follow to make sure you get the result you’re looking for. Read on to discover our top tips!
.jpg)
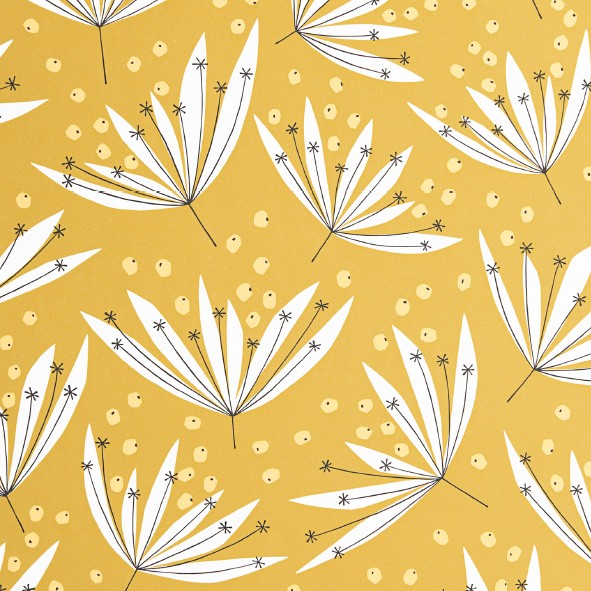
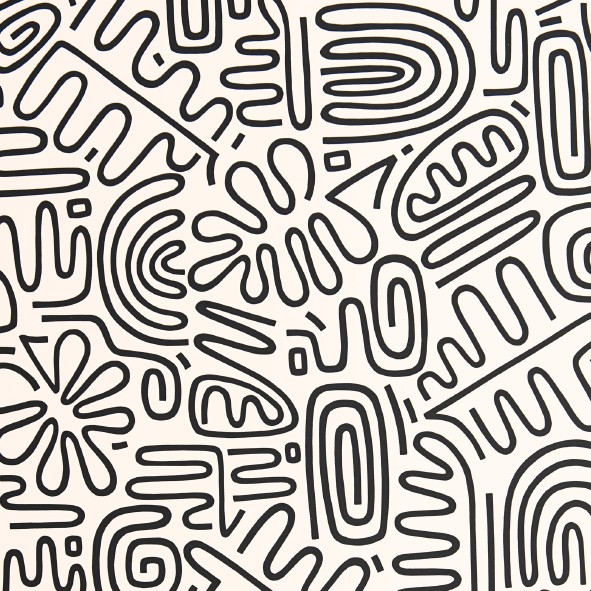
Much in the same way you would do with paint, it’s important to get samples of the wallpaper you’re considering. Colours can shift and change in different lighting and you should not just rely on a digital image when it comes to making your pattern and colour choice. Order the samples and stick them to the walls where you are planning on putting them, look at them over a number of days, check out what they look like during different times of the day and in different lights and make sure you’ve got your choice just right.
.jpg)
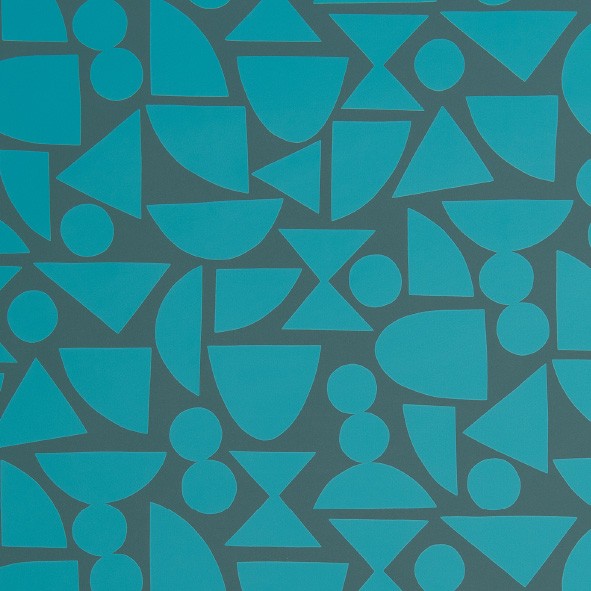
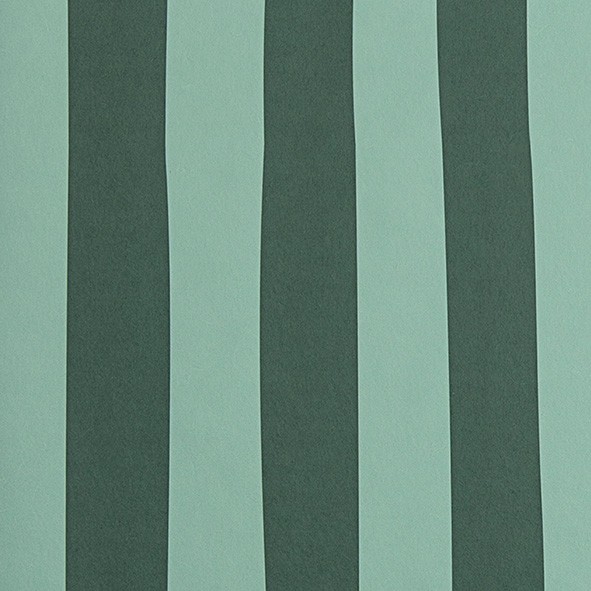
Think about the space and the room you are going to be wallpapering, in particular with regards to the scale of pattern and your colour choice. Little designs can get lost in a large space and really large-scale designs or murals can overwhelm smaller rooms. So it’s important to consider the look and feel you want to achieve before you commit to a pattern.
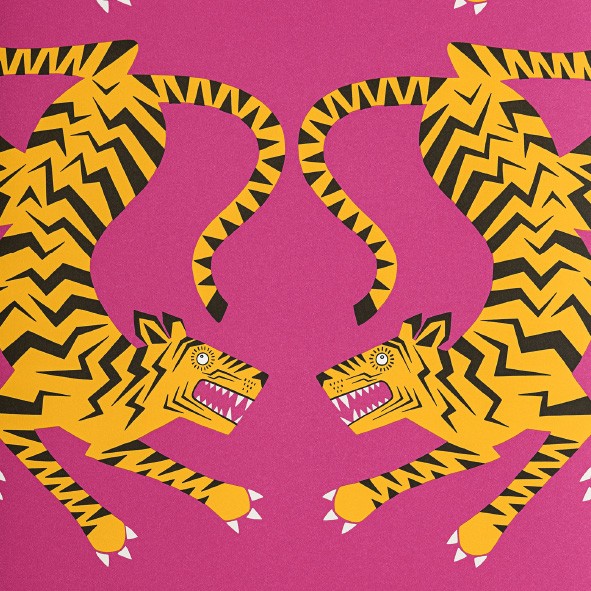
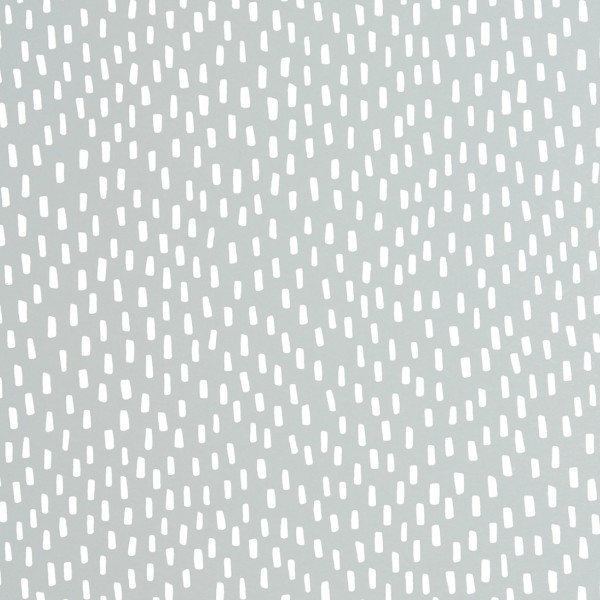
As with any decorating task, preparation is key! You will need to remove any old wallpaper, fill any holes and cracks and then sand down the wall. There’s no denying that this is probably the least enjoyable part of wallpapering and it can be a painful and slow process, but it is an absolutely must for creating a good finish. Patience is key to stripping back the old wallpaper, soaking your walls with warm water for around 15 minutes should make the removal a lot easier.
.jpg)
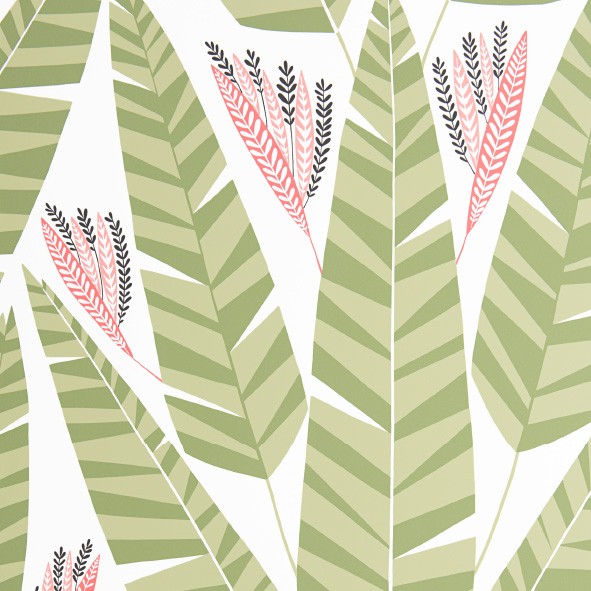
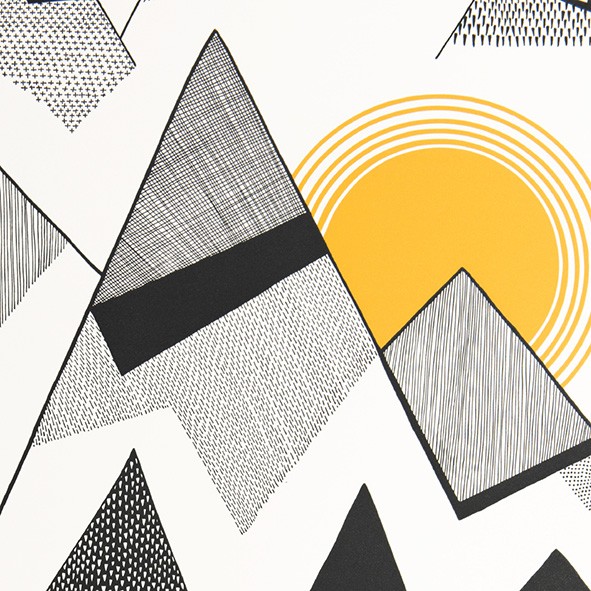
It’s important to check the type of wallpaper you have chosen and make sure you have the correct paste for the job. There are three types of wallpaper: “Paste the Wall”, “Paste the Paper” and “Pre Pasted” – all of which are quite self-explanatory. Paste the wall requires you to apply paste directly to the wall and it is quite forgiving and easy to apply. Paste the paper is the traditional type of wallpaper requires you to apply the paste to the paper and let it soak, you will need a pasting table for this type of paper and it can be a little trickier to master the technique. Pre pasted already has the paste applied to the wallpaper and you just need to moisten it to apply. For optimum results with MissPrint wallpapers, we recommend using a light grade premium quality pre-mixed adhesive.
We hope these tips help you with your own DIY wallpapering. Just remember to take your time making your choices and do all the necessary prep work to ensure you get the best finish possible! Don’t forget to tag us on Instagram in any of your projects so that we can see the end result!